VM Instant Boot is a feature that minimizes downtime and gets your business back online within minutes after a disaster or cyber event. This means critical servers can resume operating until a convenient time is found to perform a full system recovery.
VM Instant Boot works with Advanced System Protection backups as well as Downloaded BMR backups from a cloud destination.
How it works
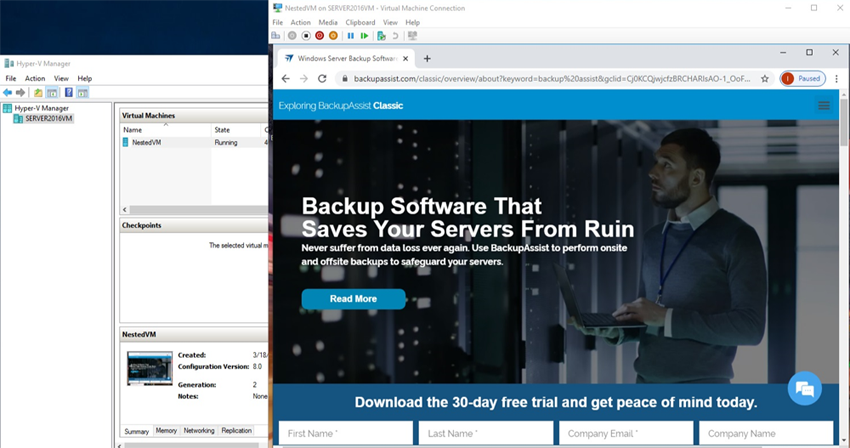
The process described in this document uses VM Instant Boot to convert a BMR-capable backup (local or cloud) into a bootable backup, and then explains how to create and launch a Hyper-V VM using the bootable backup.
The VM (Virtual Machine) can boot locally as explained in this guide, or boot in the cloud as explained in the VM Instant Boot in the cloud guide.
Key features:
- Safe - Creates differencing disks for the VM to use, leaving the original backup unchanged.
- Flexible - Uses any backup of a physical server or virtual server, and the backup can be a local backup or downloaded from a cloud backup.
- Predictable - Runs a virtualized server with the same functionality as the physical server that was backed up.
- Very fast - With two commands the backup is prepared and once you have created the new VM your server is ready to go.
VM Instant Boot process
In this section, you will quickly recover a server by making a backup of the server bootable, then using that backup to start a local VM.
Requirements
- A backup that was created with an Advanced System Protection or Cloud Backup job.
- Windows 10 and later, Windows Server 2016 or later machine that can run Hyper-V Server.
To perform a VM Instant Boot:
- Locate the backup of the system you want to recover.
- Open VMInstantBootUI.exe.
- This will display the VM Instant Boot UI and list the backups available under that folder.
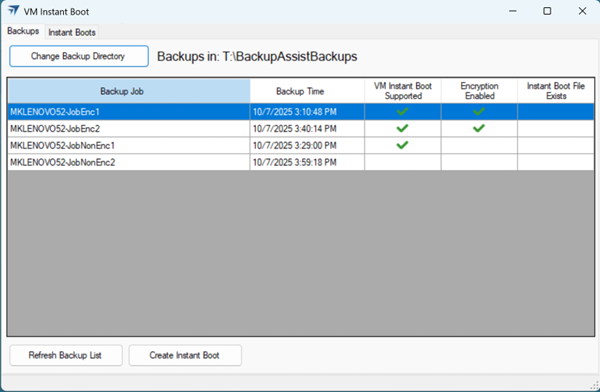
You can Change Backup Directory to load backups from another folder.
Once loaded, the table would list all the backups, and those that support VM Instant boot, as well as whether existing boot files have been created and whether they are encrypted. -
Select the relevant backup and click the Create Instant Boot button.
Once the creation is completed, the Instant Boots tab will be displayed.
The Instant Boots tab would list all previously created boot files, along with their path, size, Status and encryption condition:- Instant Boot Path: This is the path of the virtual disk that you need to connect to your virtual machine.
- Data size: this will indicate if the boot file has been used in a virtual machine. The larger the file, the more it has been used.
- Status: this will indicate if the boot file is currently in use by a virtual machine.
- Encryption: If the backup was encrypted, then it needs to be mounted first before Hyper-V manager can access it. Click the Mount Encrypted Backup button and enter the relevant password. Note:
- When the Instant Boot file is created (and the backup is encrypted), it will automatically mount the the backup.
- The Encryption will indicate the backup is mounted (when mounted), and the button will change to Unmount Encrypted Backup.

- Data Volumes
If you have any other volumes in the backup e.g. a data volume, they will have their own virtual disk in that folder (e.g. 2-diff.vhdx) that you can attach to the VM. All virtual disks (VHDX files) created by VM Instant Boot is a differencing disk that points to the backup file as parent to ensure that the original backup is unchanged in this process.
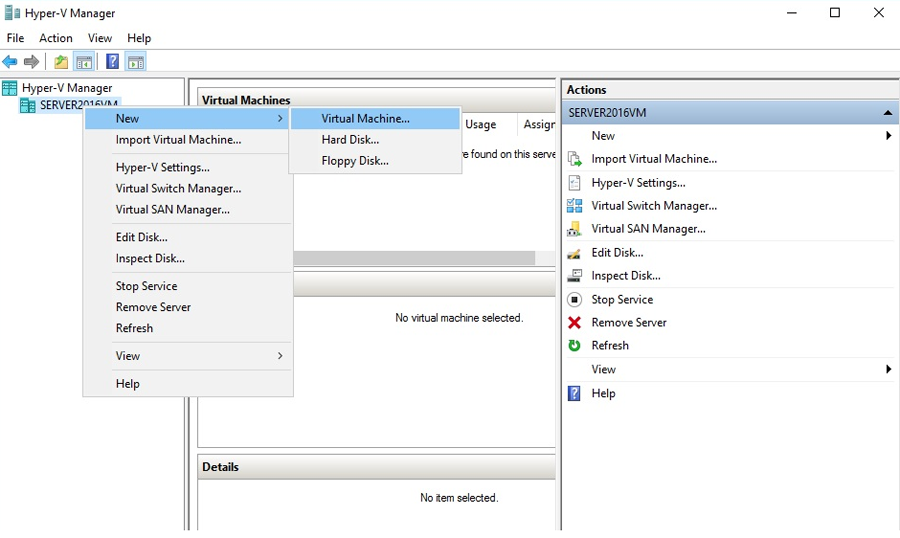
In the next steps, you will create a VM on a Hyper-V Server and assign that VM the bootable backup. - Open Windows Hyper-V Manager on a server that can access the bootable backup.
- Select New then Virtual Machine… from the Actions menu.
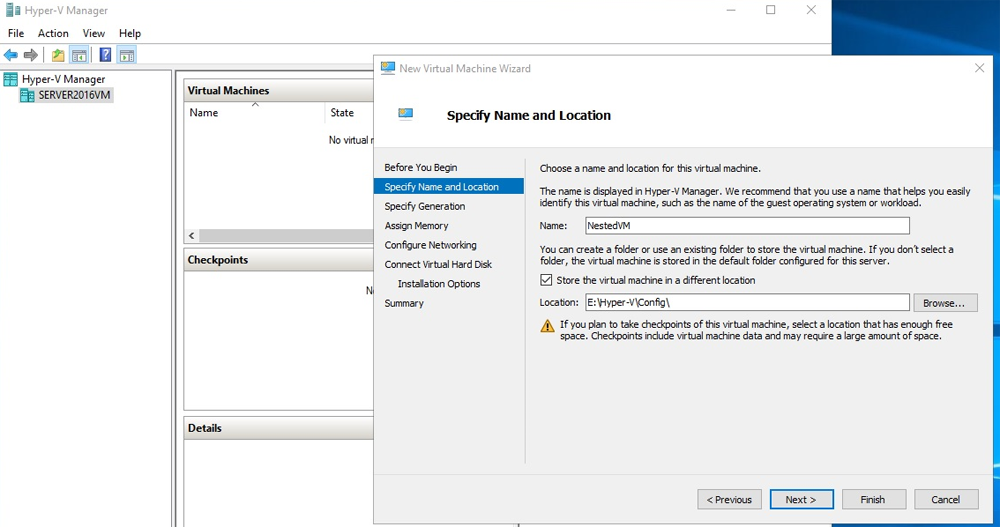
- The Specify Name and Location screen.
- Enter a Name for the VM into the field provided.
- Check the Location where the VM will be created. To use a different location, tick Store the virtual machine in a different location, and Browse to select the new location.
- Click Next.
- The Specify Generation screen.
- Select Generation 1 if the Backup and Bootable media were from a BIOS server.
- Select Generation 2 if the Backup and Bootable media were from an EFI server.
- The Assign Memory screen.
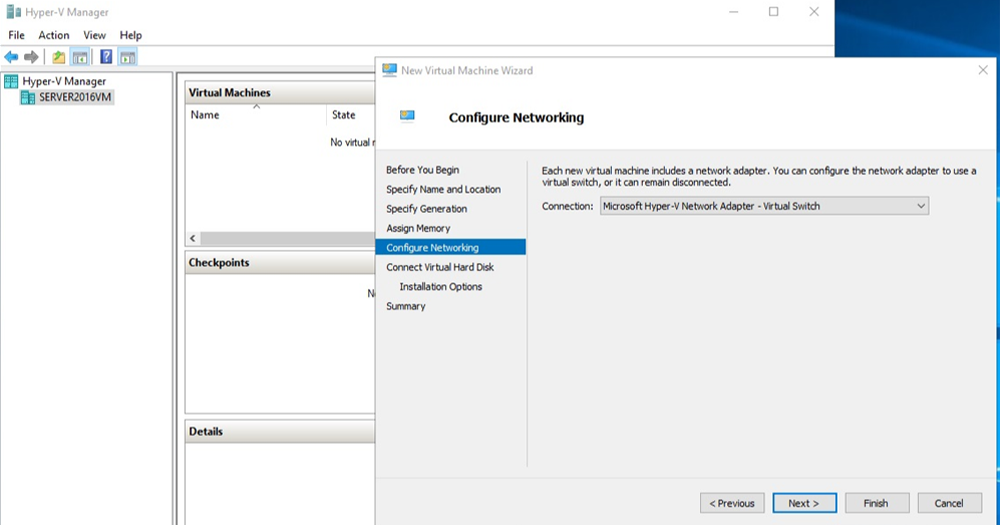
- The Configure Networking screen.
- The Connect Virtual Hard Disk screen.
- Select Use an existing virtual hard disk.
- Use the Location field to Browse to and then select 1-bootable.vhdx (the VHDX backup that you made bootable).
- Click Next.
- The Summary screen.
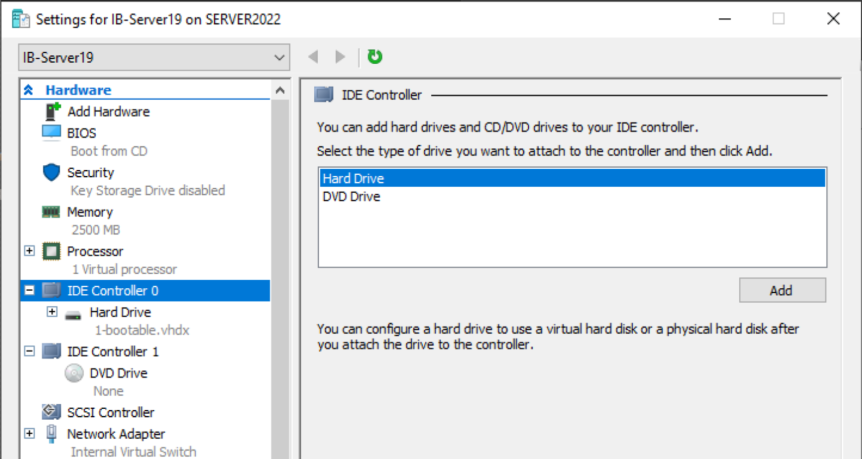
- Add data volumes to the VM.
- Identify the VHDX file in the backup that corresponds to the data volume (e.g. 2-diff.vhdx). This will be located in the same folder as the VM Instant Boot volume (…\BackupAssistBackups\InstantBoot).
- Open the Hyper-V guest's settings, and Add the VHDX as an additional disk to the VM.
- Add and configure a NAT switch.
-
Open a PowerShell console as Administrator.
-
Create an internal switch by running:
New-VMSwitch -SwitchName "NATSwitch" -SwitchType Internal -
Configure the NAT gateway (virtual network adapter) by running:
New-NetIPAddress –IPAddress 192.168.0.1 -PrefixLength 24 -InterfaceAlias "vEthernet (NATSwitch)"In above example, the gateway IP is set to 192.168.0.1, and we are using the network adapter’s Alias to reference the switch. You can use interface index as an alternative by calling “Get-NetAdapter”
-
Configure the NAT network by running:
New-NetNat –Name NATNetwork –InternalIPInterfaceAddressPrefix 192.168.0.0/24Ensure the IP address prefix matches the previous step
-
The NAT network name created here is what you will use when configuring the Virtual machine’s network adapter
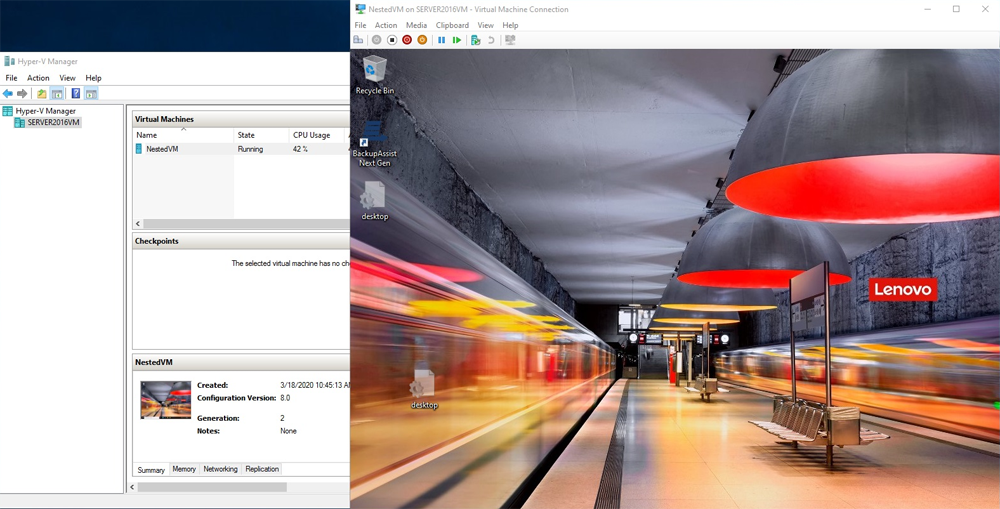
- Right-click the new VM and select Start.
- Right-click the new VM and select Connect.
- Log into the VM using the Windows administrator credentials of the server that was backed up.
- Open the Network Connections window.
- Right-click the network adapter and select Properties.
-
Select Internet Protocol Version 4 (TCP/IPv4), click the Properties button and configure as required.
Using the example NAT switch created in a previous step, configure your settings as follows (note IP address is within the switch address range):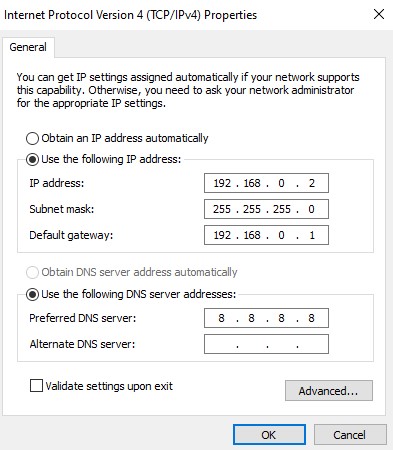
- Open a browser and confirm that the recovered VM is connected to the internet.
Note: In the BackupAssistBackups folder (where the local backup or the downloaded backup is found), there is an InstantBoot folder. The exe and the necessary libraries are copied here.
This opens the New Virtual Machine Wizard, which will guide you through the steps you need to complete to create the VM.
Choose a Generation 1 or 2 VM, and click Next.
Assign memory to the VM, and click Next.
The memory required will vary from system to system. Ticking Use Dynamic Memory for this virtual machine means only the memory that is needed (from assigned memory) is used. This can result in the VM using less memory, though it may be less responsive.
Select Microsoft Hyper-V Network Adapter - virtual switch and click Next.
NOTE: Virtual network switches are set up in Hyper-V Manager and used to give VMs network access using the host’s network adapter. We will configure the virtual switch in a later step.
To use the bootable backup (VHDX file) as the VM's disk:
These selections mean the new VM will use the bootable backup as its disk.

Review the VM selections and click Finish.
The VM will now be created and added to the list of VMs in Hyper-V Manager.
Backups of systems with data volumes will include additional VHDX files for those volumes. These volumes can be added now, after the VM has been created, or later while the VM is running.
To add a data volume to a VM:
In some versions of Windows, the disk will mount automatically while the VM is running, but in others, you may need to open Disk Manager and online the disk.
A NAT switch (network address translation switch) allows a virtual machine to access network resources using a physical host server's IP address and a port through the VM's Hyper-V Virtual Switch.
To create a NAT switch on the Hyper-V host:
For more details, please visit :https://docs.microsoft.com/en-us/virtualization/hyper-v-on-windows/user-guide/setup-nat-network.
After following these steps, go to the VM and check that the Network adapter shows the Virtual Switch you created above in the Virtual Switch field and select it.
Now you can boot the VM.
This will open a session so you can log into the VM.
Now you can assign the private IP address to the VM.